Create Volume Snapshot
Volume Snapshot of Virtual Machine
Volume Snapshots capture the current state of a volume at a specific point in time, ensuring data integrity and providing a reliable solution for backup and recovery. These snapshots allow you to quickly restore your volume to its exact state at the time of creation, helping to recover from accidental deletion, corruption, or system failures.
With Stack Console, you can easily create and manage volume snapshots through an intuitive interface, ensuring your data remains secure and consistent. This guide will walk you through the process of creating a volume snapshot step-by-step.
Creating a Volume Snapshot of Block Storage
- From the left-hand menu, click on the Snapshots tab.
- You will be redirected to the Snapshots page. Go to the Volume Snapshot tab.
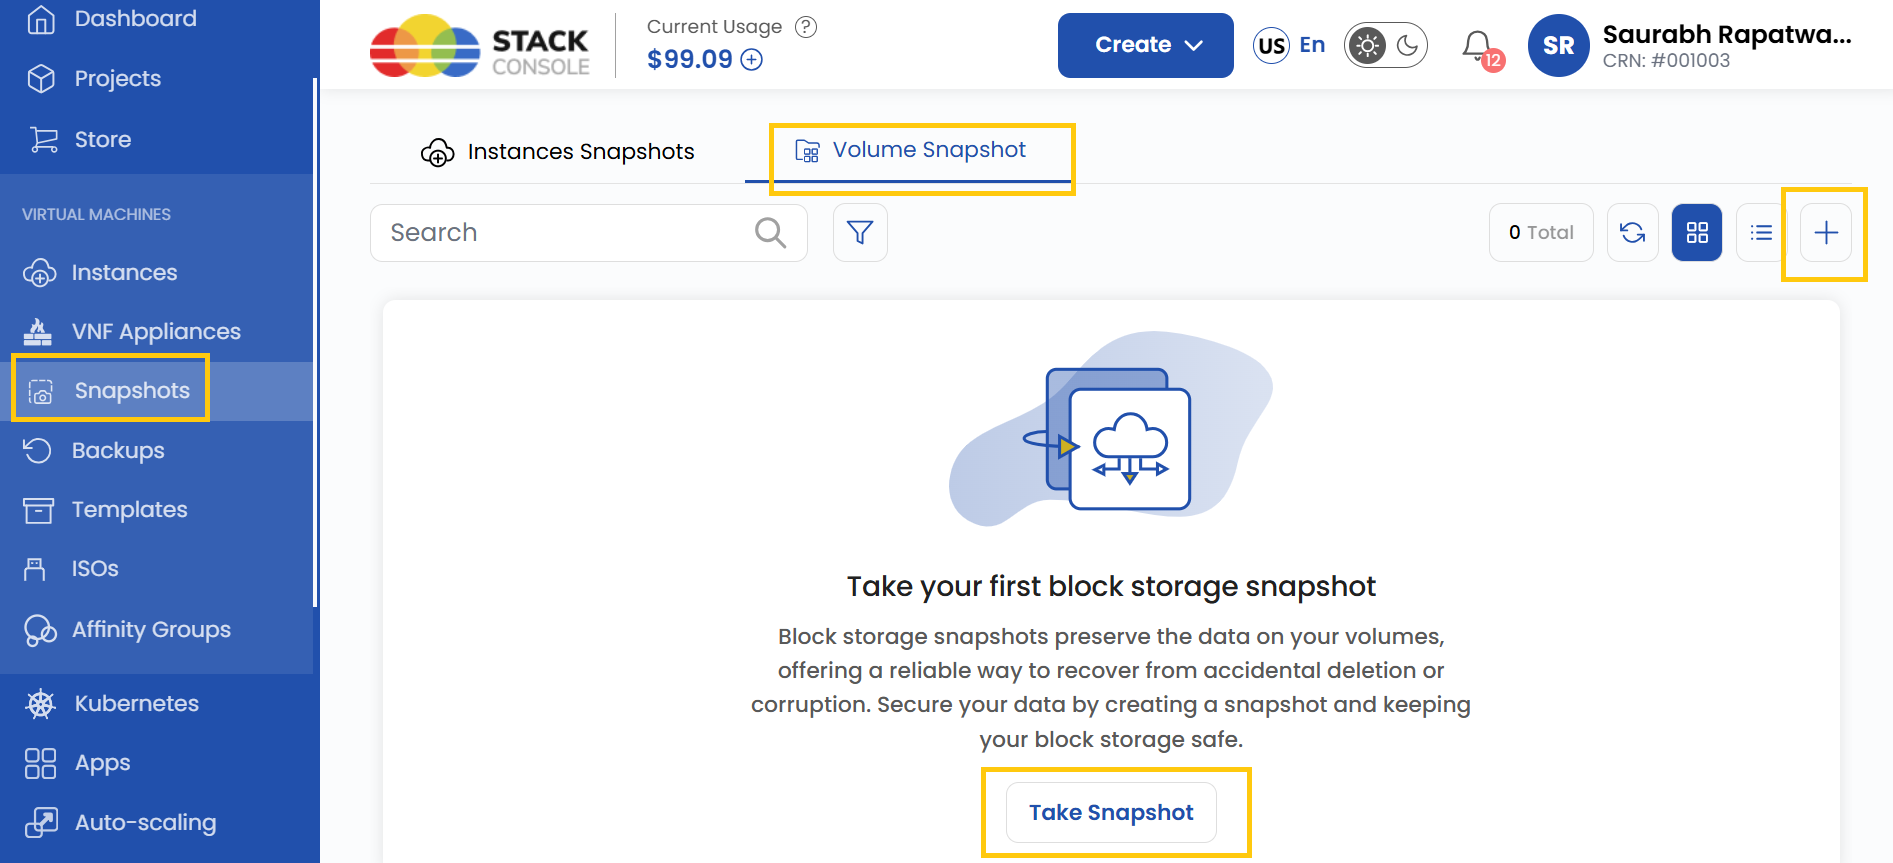
- To create a snapshot, click on Take Snapshot or the plus (+) icon located on the right side of the page.
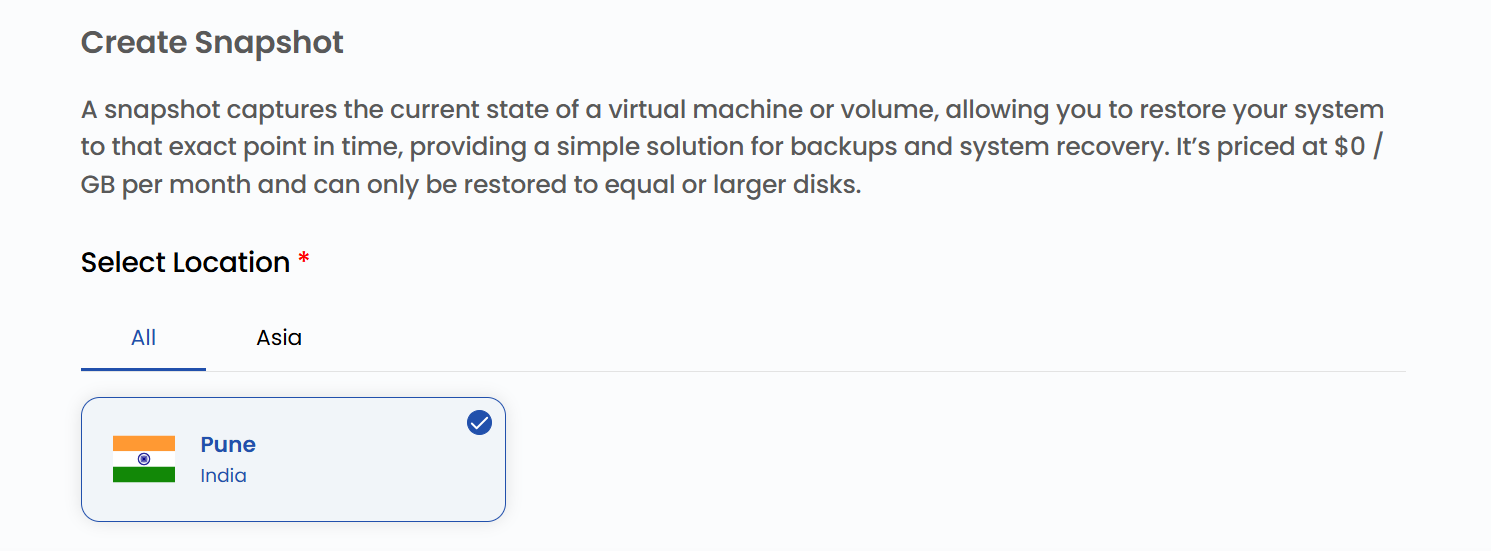
Choose a Location
- Select the data center location where your server will be physically hosted.
- Choose from the available locations listed.
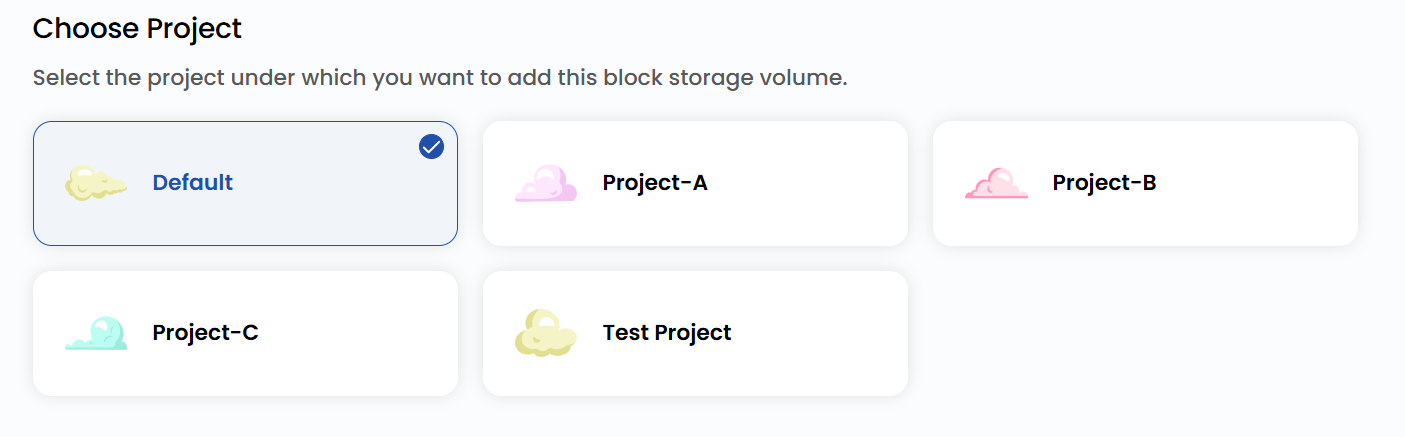
Assign to a Project
- Assign the snapshot to one of your projects to organize and manage resources effectively.
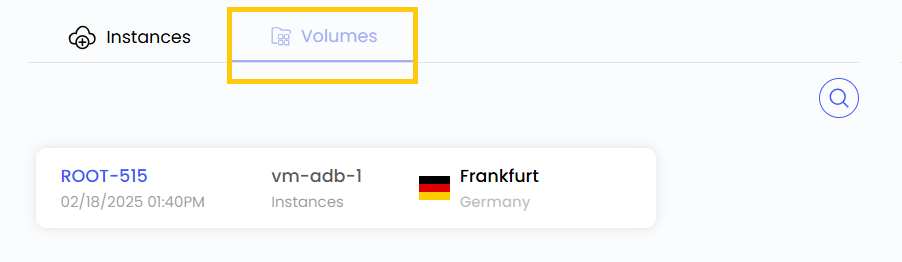
Choose Block Storage
- From the Volumes list, select the volume for which you want to create a snapshot.
Choose Snapshot Name
- Provide a unique Snapshot Name for your volume snapshot to identify it easily in your dashboard.

Create Snapshot
- Choose the desired Billing Cycle for your snapshot. Snapshots and backups support only Hourly billing cycles. The only billing rule supported is Fixed Prorata.
- Only one package per zone is supported for VM Snapshot, BS Snapshot, and VM Backup. Automatic VM backups cost 20% of the virtual machine price if enabled from the admin.
- Verify all the configuration details and review the price summary. Click on Take Snapshot to create the snapshot of the volume.

Conclusion
By following this guide, you can easily create and manage volume snapshots on Stack Console. Volume snapshots provide a reliable way to back up your data, ensuring data integrity and enabling quick recovery in case of accidental deletion, corruption, or system failures. For further assistance, refer to the Stack Console documentation or reach out to support.
See also: